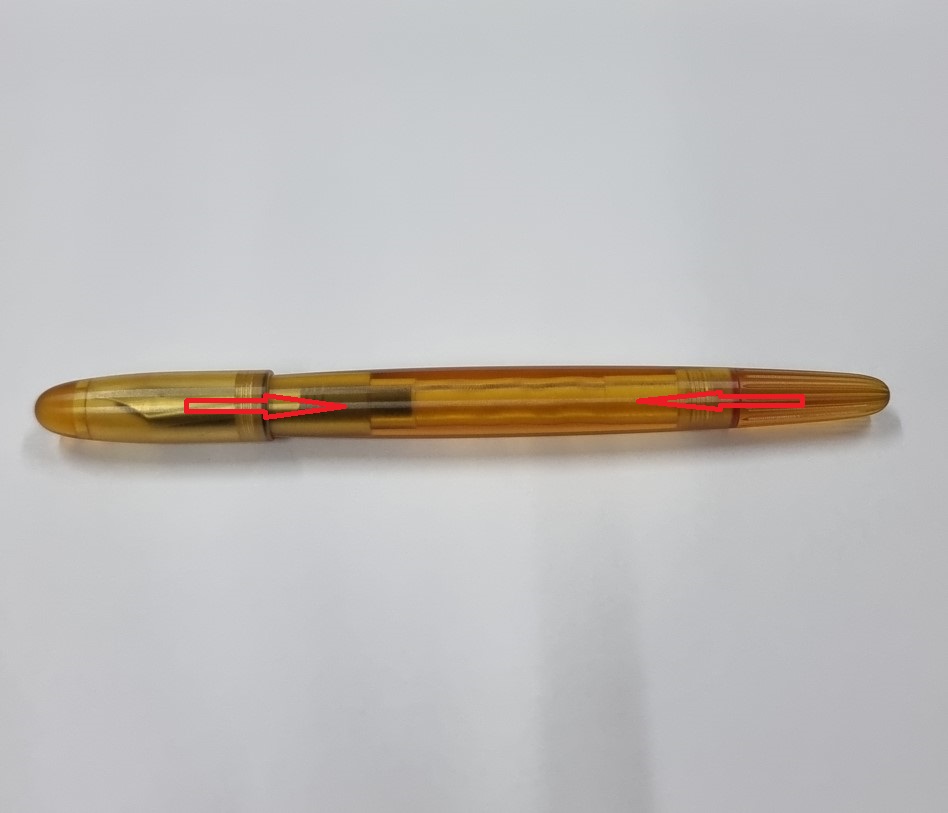
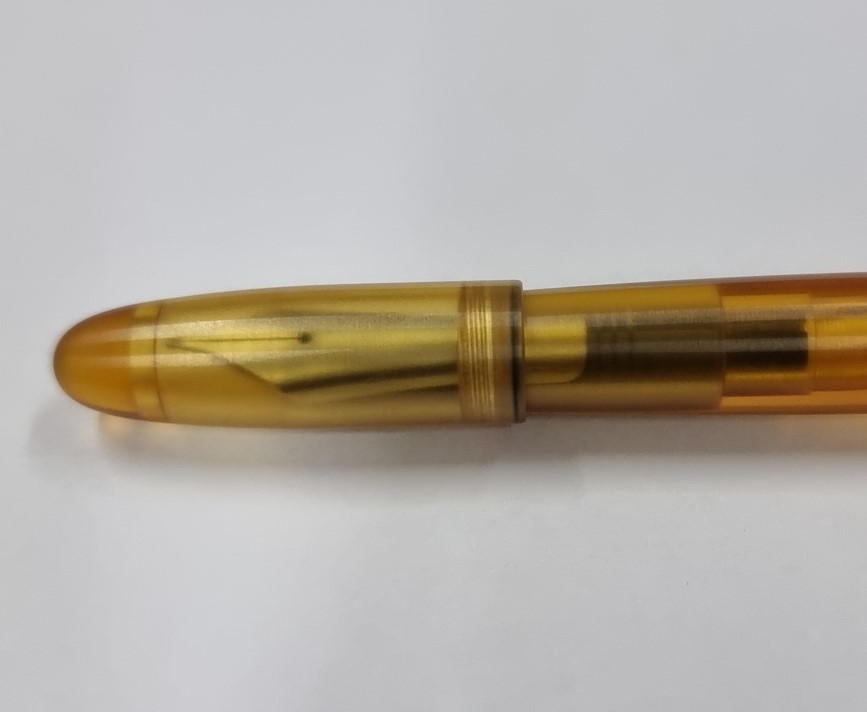
◆ Regarding the compression / expansion of air (4 possible states)
Due to the nature of its peculiar design, both the cap and end plug are sealed with O-ring.
This induces some characteristic compression / expansion of the air inside the barrel, depending on open / closed states of the cap and end plug.
1. If the cap is closed, then the end plug is closed:
Compression will occur inside the barrel. Some ink will get pushed out and well up some of the feeder's fins.
* This happens when you close the end plug after filling the barrel with ink.
2. If the plug is closed, then the cap closed / opened:
Compressions / expansions occurs inside the barrel
* This happens with typical closing / opening of the cap while writing.
* Only happens when fully closing the cap.
* Doesn't happen when lightly closing the cap.
3. If the cap is closed, then the end plug opened:
* If there is ink inside the barrel, some ink will leak out when the plug is removed (due to the cap closing compression).
Be prepared for some leak of ink! Put some tissues around the end plug to absorb the ink.
This is why it is recommended to drain or use up the ink prior to unscrewing the end plug.
4. If the cap is opened, then the end plug is opened:
All the ink inside the barrel will drain out from the nib
* This state is for removing the ink from barrel.

◆ Cap Fully closed vs Lightly closed
--- (1st picture) Fully closed
when cap is closed fully, it is fully sealed.
This is useful when you are carrying around the pen.
The pen is completely sealed from atmosphere, and ink flow is locked in place.
O-ring will experience a slight wear everytime when the cap is fully closed / opened.
* The cap needs to be fully closed when filling the pen with ink, otherwise ink will leak into the cap.
--- (2nd picture) Lightly closed
Cap is closed with a light resistance from O-ring.
This is recommended when you are frequently opening / closing the cap at your desk (a fixed location use). Minimal O-ring wear.
--- (3rd picture)
If the cap is fully closed, the pen must be opened with the nib pointing upward position.
If the cap is opened nib pointing downward position, some ink will get sucked out and well up some of the feeder's fins. Temporarily, more inkflow than usual will occur.
*If the cap closing is very stiff or hard due to the O-ring, apply a small amount of baby oil inside the opening area of the Cap. Or directly apply onto the O-ring.


◆ Ink filling
--- (1st picture)
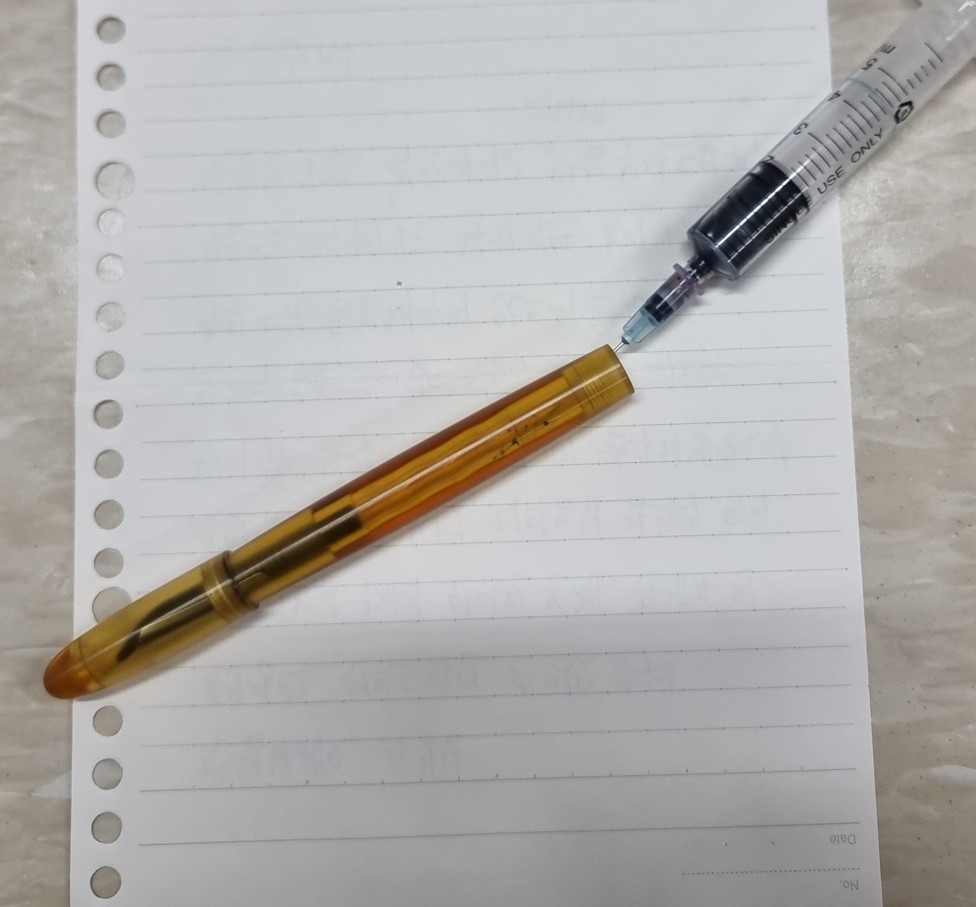
Please prepare an ink bottle and syringe (regular needle type / eyedropper / spoid).
Unscrew the rear plug.
--- (2nd picture) The nib must be facing downward when ink is filled.
*This must be done, otherwise ink can leak and fill up the cap while filling !
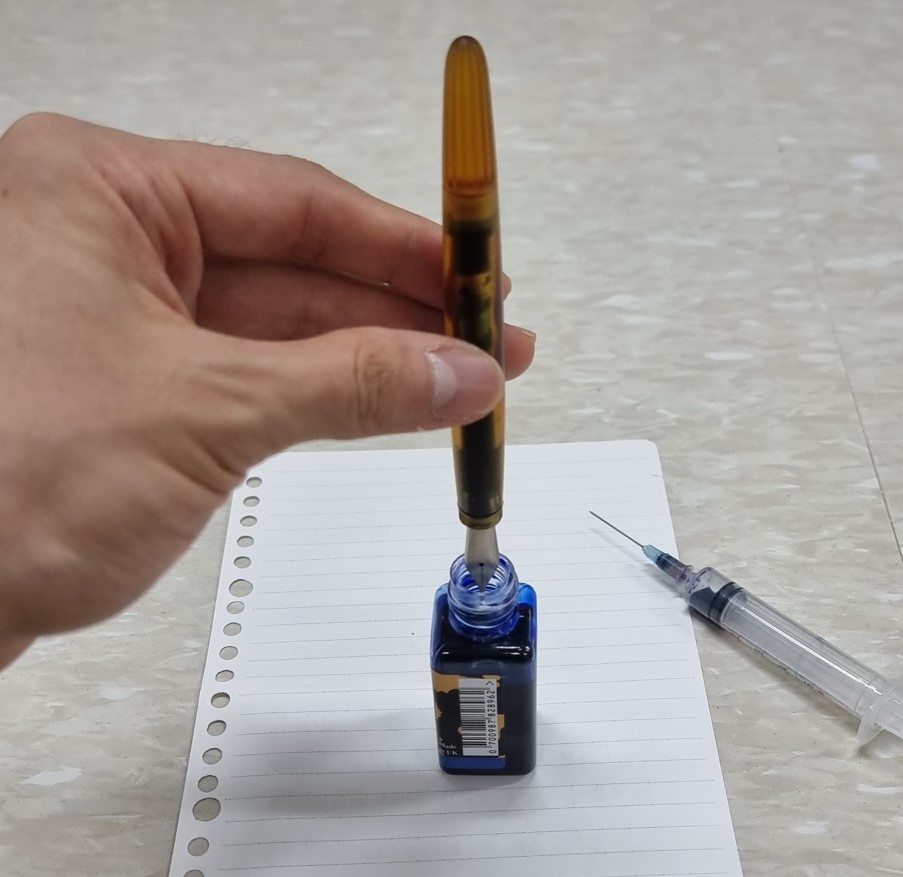
--- (3rd picture) Please fill the syringe with ink (approximately 1ml).
*after filling the ink into the syringe, please make sure to pull back the cylinder slightly before removing the ink bottle. This will help prevent accidental contamination due to ink drip from the syringe.


--- when injecting the ink please maintain the position as shown below.
Ink should be aimed at the inner wall. be careful not to scratch the inner surface
Do not fill the ink past the indicated line (red line with star)
*after injecting the ink into the barrel, please make sure to pull back the cylinder slightly before removing from the barrel. This will help prevent accidental contamination due to ink drip from the syringe.
*First time filling (If the pen is not writing properly)
If your pen is new and never has been filled before, you may experience improper ink flow all the way to the nib point. This is because the ebonite feeder has not been tamed yet.
In this case, with the nib facing down, slightly and slowly open the end plug until some ink flows down and wets the feeder properly. Carefully, watch the feeder filling up with ink and do not to let it leak too much! Close the plug when it is enough.


◆ Removing ink completely
Open the ink bottle and position the pen as shown in 1st picture. Be careful not to spill the ink bottle.
While maintaining the position, slowly open the end plug.
At certain point ink will start leaking out. Eventually completely remove the plug.
The remainder ink @ the feeder can be drained, by dabbing the nib as shown in the 2nd picture.
It will take a long time though, to completely remove the ink.
*You may be able to remove more ink by blowing on the opened end hole.
be careful, ink can splatter if you blow too hard !


◆ End area contamination
Due to the nature of the pen's design, everytime when the end plug is opened, some contamination is inevitable (as shown in picture 1 & 2).
Please clean the plug with water. The inside wall @ plug hole should be wiped with tissue.
If these two areas are not cleaned, some leak will occur as shown in the 3rd picture, when the plug is closed.
In such case, loosen the end cap slighty till you see a slight gap between the barrel & plug. Then rinse the contaminated area with water.


◆ Cleaning the pen
If required, flush the cap with clean water. Please make sure to remove all the water with tissue.
A small amount of baby oil (using cotton swab) can be applied inside the cap area. This will prevent ink stain and make the cap appear clearer. The same can be done to the inside area @ the end of the barrel.
This model is prone to ink contamination than typical models, due to its inherent smaller cap design.
After removing the ink from barrel, let water flow down into the barrel.
You want to maintain the barrel at an angled position so that the water will flow down diagonally.
Water may get stuck if the pen is positioned vertically, due to surface tension.
Also a tiny flow from faucet will help water flow down better, compared to larger flow of water.
◆ O-ring removal / installation
(picture 1) Lock the O-ring with your left index finger, so it doesn't move around.
(picture 2) While Locking the O-ring in place, push the O-ring with a toothpick using your other hand.
(picture 3) Use your left thumb to push the ring out.
installation is simple, just slide and push the O-ring into the groove.
*Do not stretch the o-ring too much.
*A light coating of baby oil will reduce friction and enhance sealing


◆ Cap thread type
PEEK (Tan): tripple start thread
Ultem: single start thread
*Although tripple start thread requires fewer turns to open / close the cap, some minor interruption can occur at specific angle and position. This is due to the drastic design of slim asymmetry compared to typical models. Please see related R&D log for details.
The Ultem slim asymmetry was produced after the PEEK (Tan), and addressed this issue by changing it into single point thread.


